Hi guys! Hope you found the previous posts interesting! Now the process of making a fibreglass positive is complete I can now finally get creative!
After I have completed my design ideas and decided on my final design I can then begin the sculpting process. To do this I began by looking at my models face to figure out where her face moves – where wrinkles may gather during facial expressions etc.
This would help me sculpt an appliance that would move naturally on the face as it would be able to crease in all the correct places. I then took a pencil and gently drew on the fibreglass inner to create a guide for me to follow throughout sculpting.
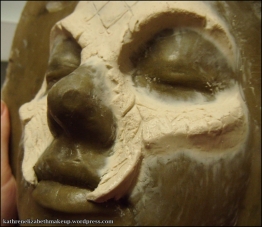
I then began blocking out my desired shaped by applying small sausage shapes of Plasterline onto the surface of the positive to create a thin layer of Plasterline that was not too far from the face as this would help create the illusion that the appliance is part of my models natural skin. I then gradually blended the small sausages together to create thin coverage over the parts of the face I wanted to cover with the appliance. I was then able to add more sausage shapes on top of this to create height in areas I wanted to build up such as the cheeks and brow bone.
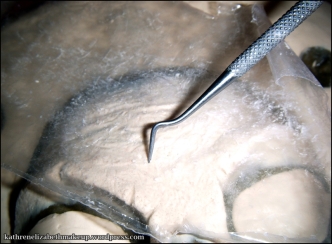
Once I was happy with the basic shape of the sculpt I was then able to begin texturing the Plasterline to make it more realistic. I tested a variety of methods such as sponging and stippling alongside using various tools until I was happy with the effect. I also experimented with thick plastic wrapping which created a different effect which worked perfectly for any wrinkles and fine lines I wanted to create as it simply made an intend rather than dragging the Plaster line around the surface. The effects of using this method were a lot more subtle. I used this method particularly around the eye and forehead area.
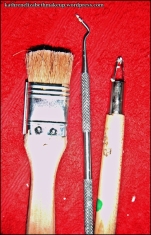
I also used a loop tool to carve into the Plasterline as this would remove the unwanted Plasterline rather than moving it around the sculpt which would create raised edges.
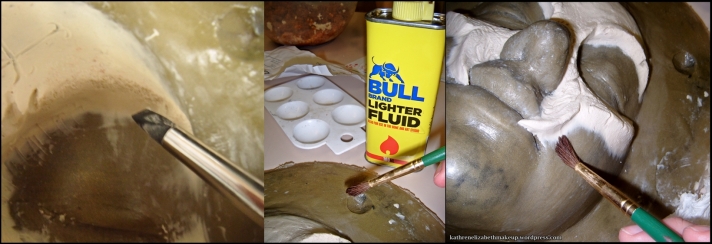
To make sure the edges are as thin as possible I used a few different techniques to make sure they were feathered out evenly. I first blended them out with my finger. Then used various rubber tipped tools to further blend the Plasterline outwards. Once I was happy with the majority of the edges then used a soft brush saturated in lighter fluid to gently remove the outer edges. Making sure the edges didn’t drag out too far. To make the edges harder to identify when the appliance is cast I made the edges slightly jiggered as this would trick the eye distorting the lines between the face and appliance. If I create a straight lined edge it would be more difficult to blend into the natural skin during application.
Thanks for viewing my blog 🙂
Katy x
Evaluation / Reflection:
I really enjoyed this part of the process as it allowed me to get creative with the sculpting aspect of the process. It give me a change to try different sculpting techniques which I have never attempted before such as using the plastic sheets in between the Plasterline and the tools. I will be sure to use these new found techniques again as I felt they were really effective and brought new exciting textures to my sculpture.


