Hiii! Just though I’d do a post to update you on my special effects project I’m working on at the minute. For our final assessment we have been asked to create apply and paint a silicon prosthetic. This was a daunting task as I have never worked with silicone before. If you missed the previous stages of the making of the prosthetic just click the following link which will lead you to the beginning…https://kathrenelizabethmakeup.wordpress.com/2013/09/29/face-casting/
A couple of weeks ago we had the chance to be taught by Sue Day a hair and colour specialist who had previously worked for Madam Tussauds for over 20 years! It was a really great opportunity and we learned loads!
 We were asked to work on some sample casts of well know faces such as Jack Nicholson eye and David Beckhams mouth area. The samples were coloured pieces of silicone which gave us great start for a natural flesh tone. We first used a natural turpse brush cleaner called ‘Zest It’ to clean the surface we were working on. We then placed the sample piece down and cleaned that with ‘Zest It’ too. We had to be vary thorough to eliminate any dirty or grease as this may repel the paint.
 We then used a disposable palette to set out some oil paints down one side to ensure there was enough space to mix the different skin tones. I then began to experiment with different colour to build up a skin tone I was happy with. I have previously studied A level art which was a huge help in mixing the desired flesh tone.
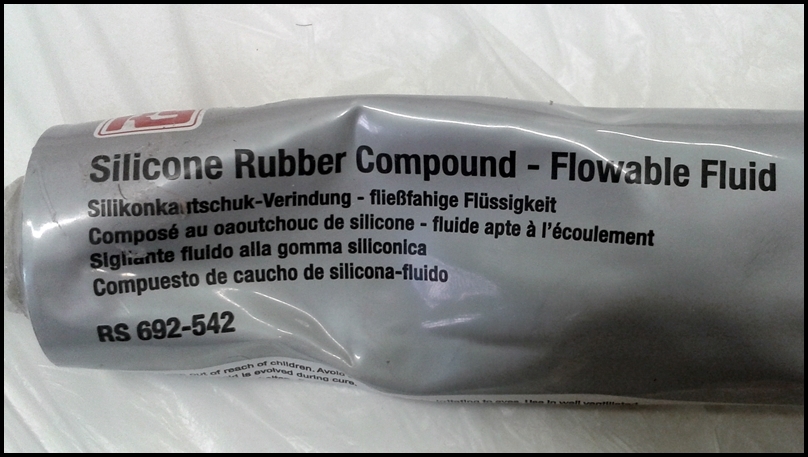
 Once I was happy with the skin tone I had mixed I then added silicone rubber compound and mixed it thoroughly. The more silicone you add to the paint the more permanent the paint will be. To give me a little more time to work with the paint I added a small amount of ‘Zest It’ to thin it out slightly. I then used a stippling brush to apply the colour onto the silicone cast.
 Once I was satisfied with the base colour I then began to mix a slightly rosier colour to stipple over the cheeks to make it look a little more realistic as there is several different tones and shade to the human skin which is why it can be really difficult to paint a believable skin tone.
 Although I was happy with the colour of the cheeks the paint had repelled slightly due to two possible reasons. 1, I didn’t leave the base coat to set for long enough. Or 2, I didn’t add enough silicone to my base colour. To combat this problem next time I will make sure to leave the paint to dry completely before adding the next coat of paint. I also would like to experiment further with the silicone compound and paint.
Thanks for reading! As always if you have any questions, just let me know!
katy xx
Evaluation / Reflection:
Overall I found this quite difficult as I struggled using the oil paint as it dried extremely quickly on the palette. I was never a fan of oil paints as I much preferred to use acrylics when painting canvas as you could always go back to using a previous colour. Painting silicone is extremely different as you have such a short time to work with the product. I would like to experiment with using different products such as skin illustrators and greasepaint to see what I can achieve with them as I really dislike this permanent method of painting.
